| Excerpt |
|---|
Learn how to attach files and folders to your pages (new editor) with the Team Files macro to share the knowledge with your team. |
About the Team Files macro
Our macro allows you to attach all kinds of files and even entire folders to your pages using a particular view of the file manager. You can insert the macro on your pages as many times as you need, and you can attach as many files and folders you want per macro.
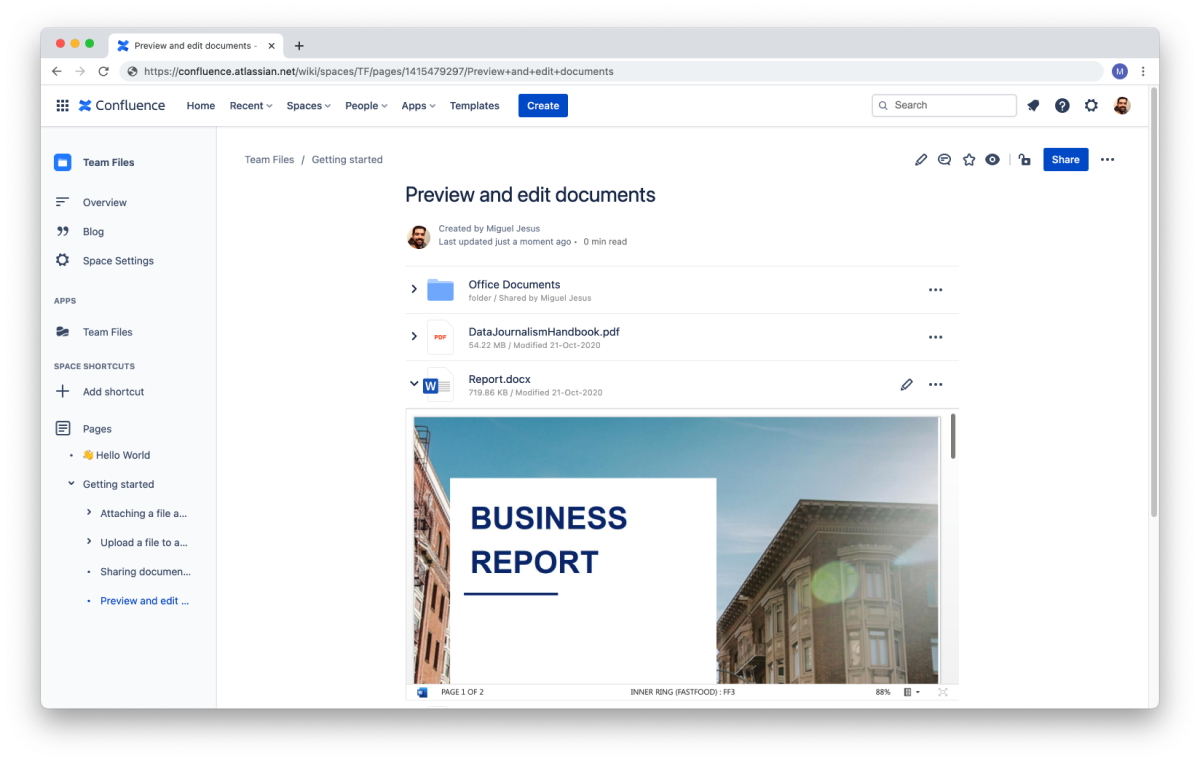
On this page, we'll show you how to use the macro so you and your team can share the relevant files and folders in the right place, quickly building your one source of truth right inside Confluence.
| Note |
|---|
Not fully available on public pages Currently, we can only display the Team Files macro to logged-in users in Confluence. Full support on public pages is coming later this year. Follow our public roadmap to keep updated. |
Adding the macro to your page (new editor)
It's straightforward to add the Team Files macro to your pages, whether you're using Confluence's new editor or the old version, with shortcuts or via the menu. You'll get the same results, but there are some small differences in the process. On this page, we'll cover the new editor. Check this page if you're using the old editor.
| Info |
|---|
How do I know which version of the editor I'm using?If you created your page recently, you're probably using the new editor. The easiest way to know is to check where the "Publish" button is. If it’s in the top right corner, it’s the new editor. If it’s on the bottom right corner, then you’re using the old editor. |
Using the / shortcut
Instructions:
Enter the edit mode of the page where you want to attach files and folders.
Place the cursor where you want to macro to appear.
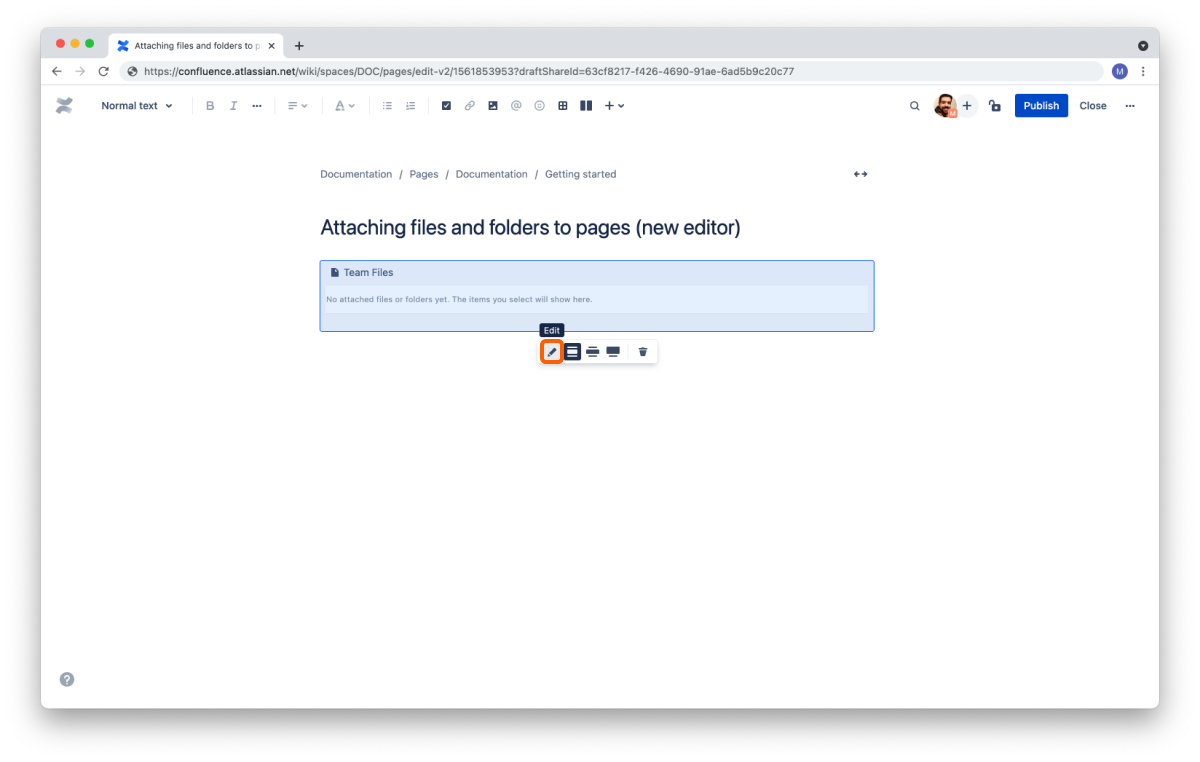
Type /attach and select the Team Files app from the dropdown.

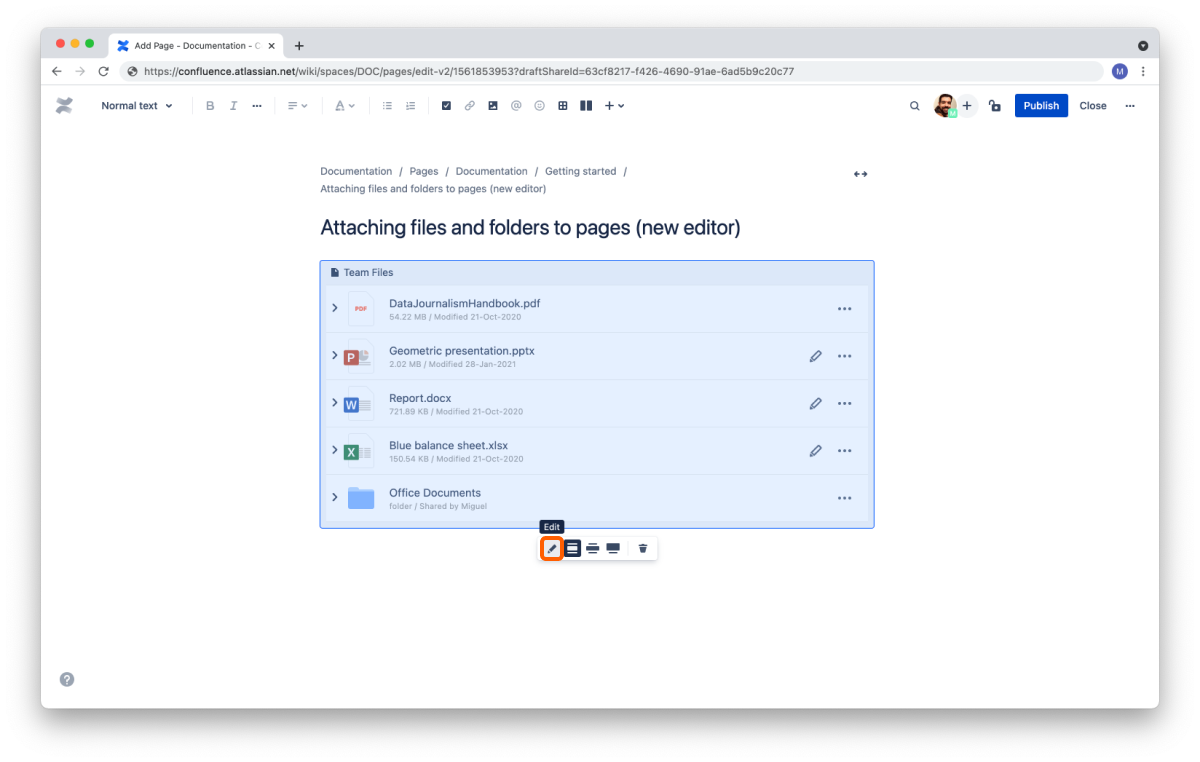
Click the "Edit" button.
Browse your connected folders in the Team Files dialog. If you haven't connected any, you can do that so now. You can also connect more folders from the context menu as you would in the file manager.
Select the files and folders you want to attach by clicking the checkbox. You'll see them appear on the live preview pane on the right side.
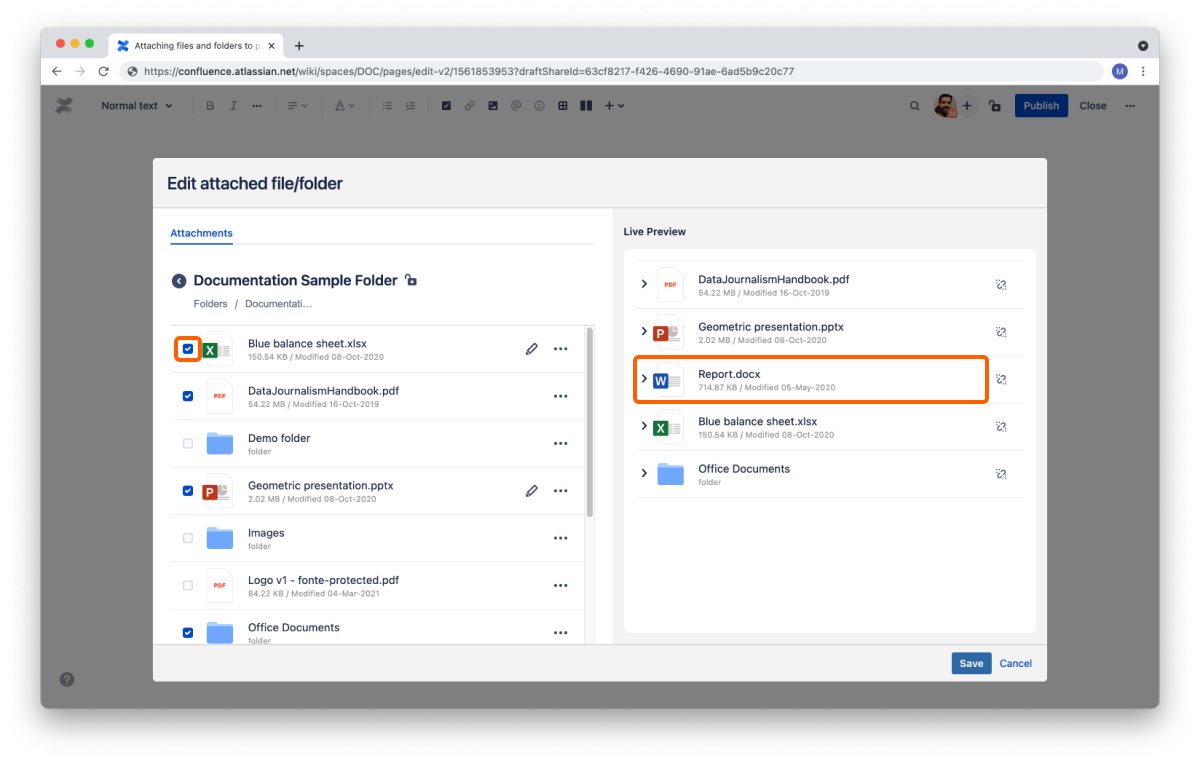
Click the "Insert" button.
| Tip |
|---|
All done. You'll be able to see your selection while you edit your page, but they're not interactive at this moment, as the editor limits the actions available. |
While in edit mode, you can preview your attachments and add more files and folders by clicking the "Edit" button on the macro again. When you publish the page, you can preview your attached items, edit documents, and browse your folders.
To make sure you're selecting the right file, you can preview your files as you would on the file manager. Click the name to open the full-screen preview or click the disclosure button on the live preview pane to preview the content, as you would on files and folders already attached.
| Info |
|---|
/ shortcut optionsUsing the / shortcut on the new editor is our preferred way to attach files and folders to pages. For your convenience, we added some options that are easier to remember and type than the app name (which is the default term). You can add the Team Files macro to your page using any of the following options: /document, /attach, /teamfiles, /team files, /file, /folder, /sharepoint, /dropbox, /drive, /google drive, /box, /ftp, /onedrive, /one drive, and /egnyte. |
Using the "Insert" menu
Instructions:
Enter the edit mode of the page where you want to attach files and folders.
Place the cursor where you want to macro to appear.
Click the "Insert" menu on the toolbar (+) and then click "View more."
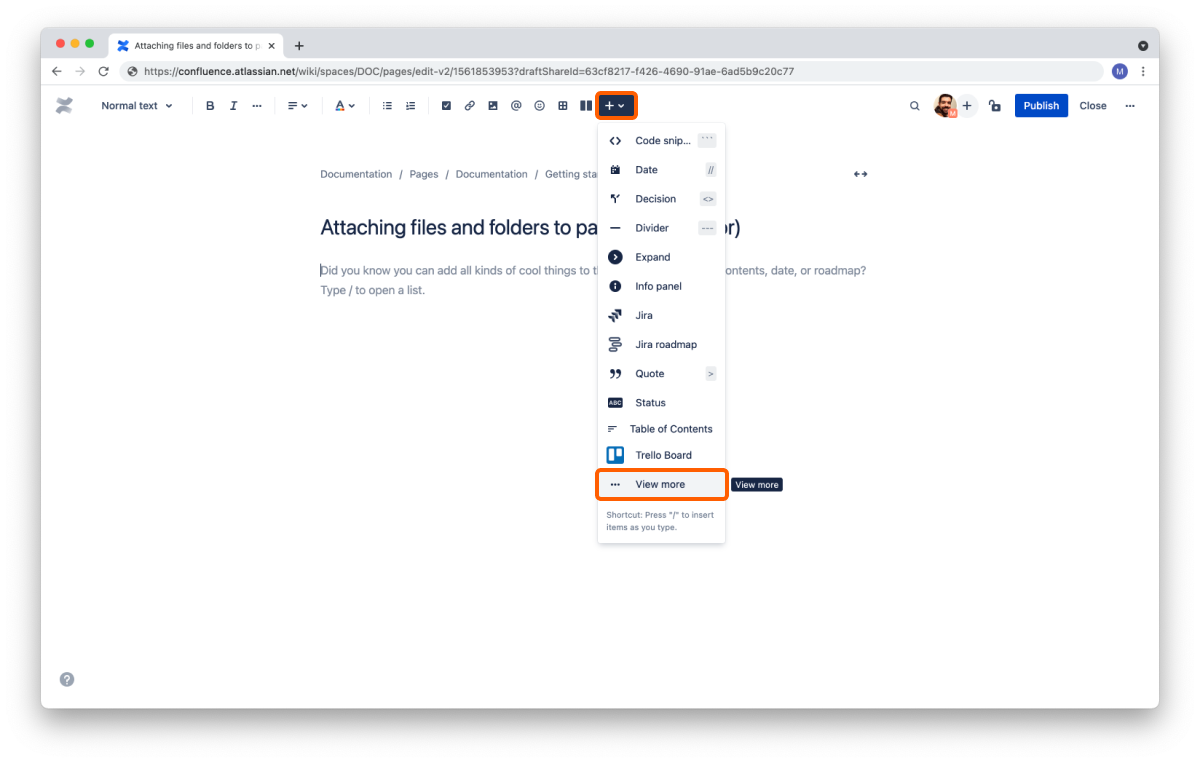
Start typing Team Files in the search field until you see it. You can also look for it in the “External content,” “Media,” or “Visual & images” tab.
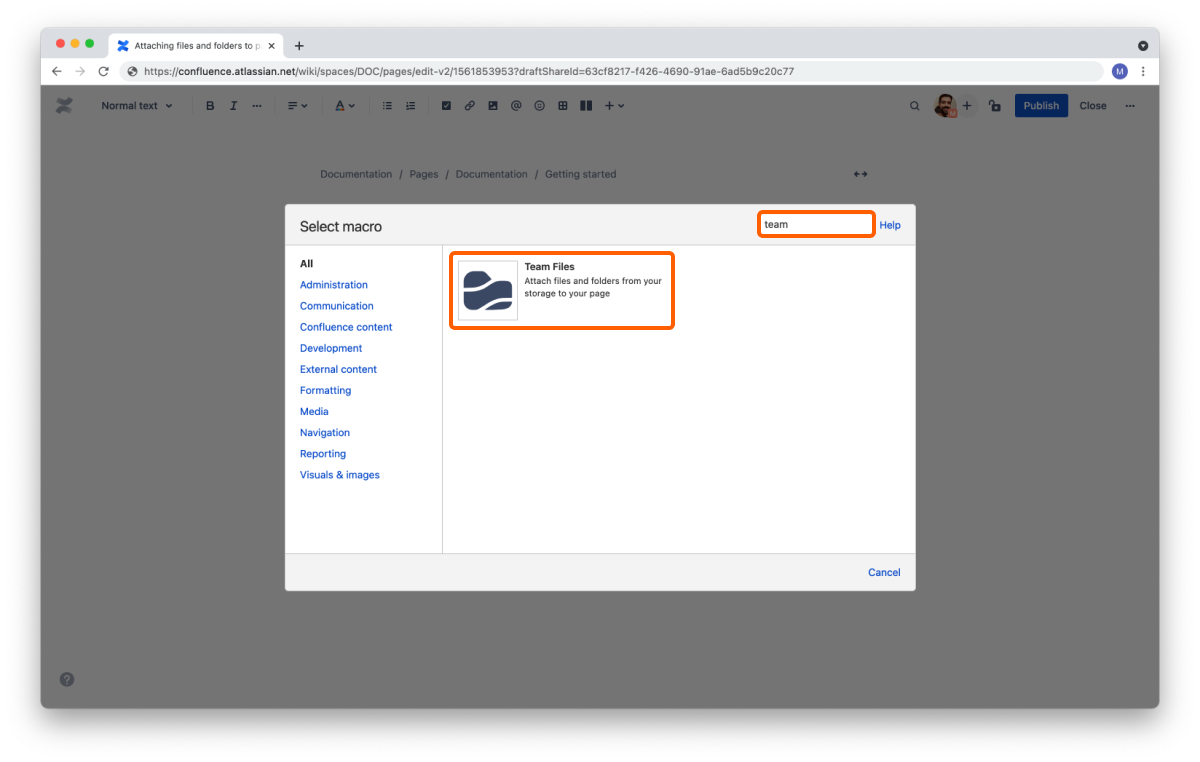
Click the "Team Files" option.
Browse your connected folders in the Team Files dialog. If you haven't connected any, you can do that so now. You can also connect more folders from the context menu as you would in the file manager.
Select the files and folders you want to attach by clicking the checkbox. You'll see them appear on the live preview pane on the right side.
Click the "Insert" button.
| Tip |
|---|
All done. You'll be able to see your selection while you edit your page, but they're not interactive at this moment, as the editor limits the actions available. |
While in edit mode, you can preview your attachments and add more files and folders by clicking the "Edit" button on the macro again. When you publish the page, you can preview your attached items, edit documents, and browse your folders.
To make sure you're selecting the right file, you can preview your files as you would on the file manager. Click the name to open the full-screen preview or click the disclosure button on the live preview pane to preview the content, as you would on files and folders already attached.
Removing attached files and folders
At any moment, you can remove specific files and folders attached to a macro.
Instructions:
Enter the edit mode of the page
Select the macro that you want to change
Click the "Edit" button
On the live preview pane, you'll find a list of all the attached files. Click the unlink button of the ones you want to remove from the macro.
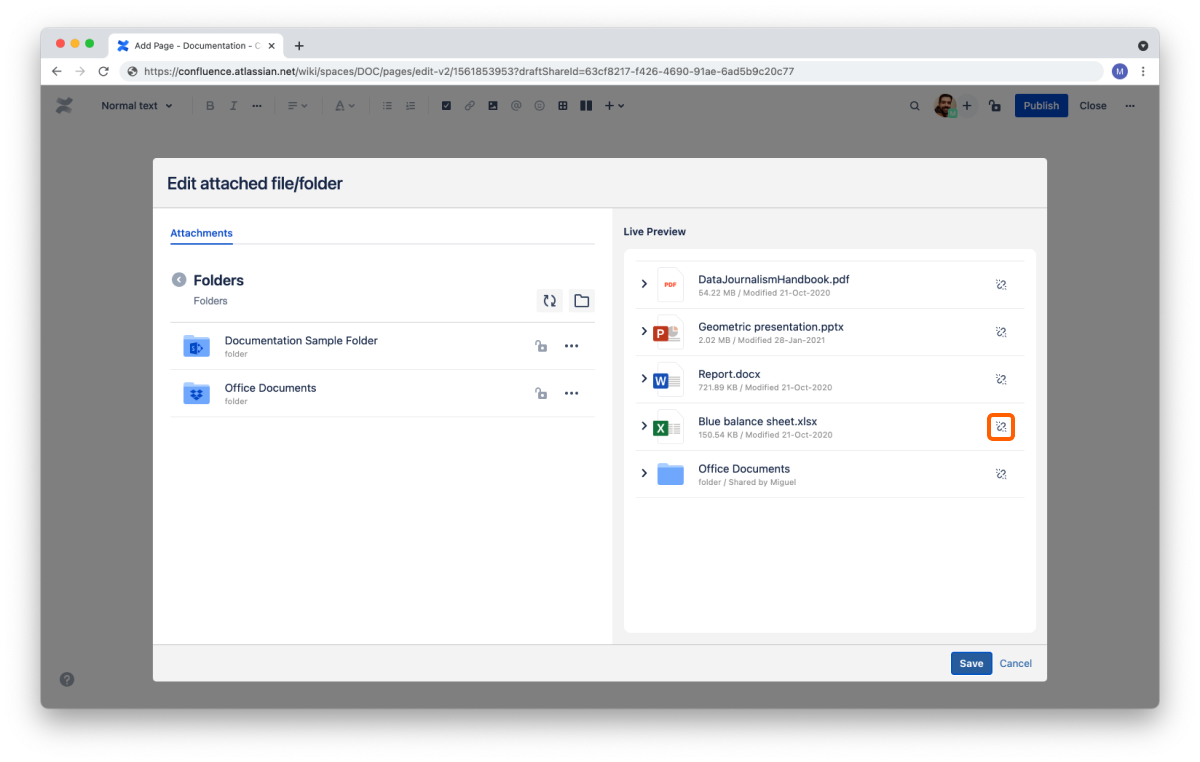
Click the "Save" button.
Your macro is updated. If you're using the new editor, you'll see the updated list.
If you make a mistake while you're removing attached files and folders, you can click the "Cancel" button to discard all changes.
| Note |
|---|
When you click the "Save" button, the changes become permanent and undoable. You can, however, attach the files and folders again, as removing them from the macro doesn't delete them. |
Removing the macro
You can also remove the entire macro, removing at once all the files and folders attached to it.
Instructions:
Enter the edit mode of the page.
Select the macro that you want to remove.
Click the "Remove" button.
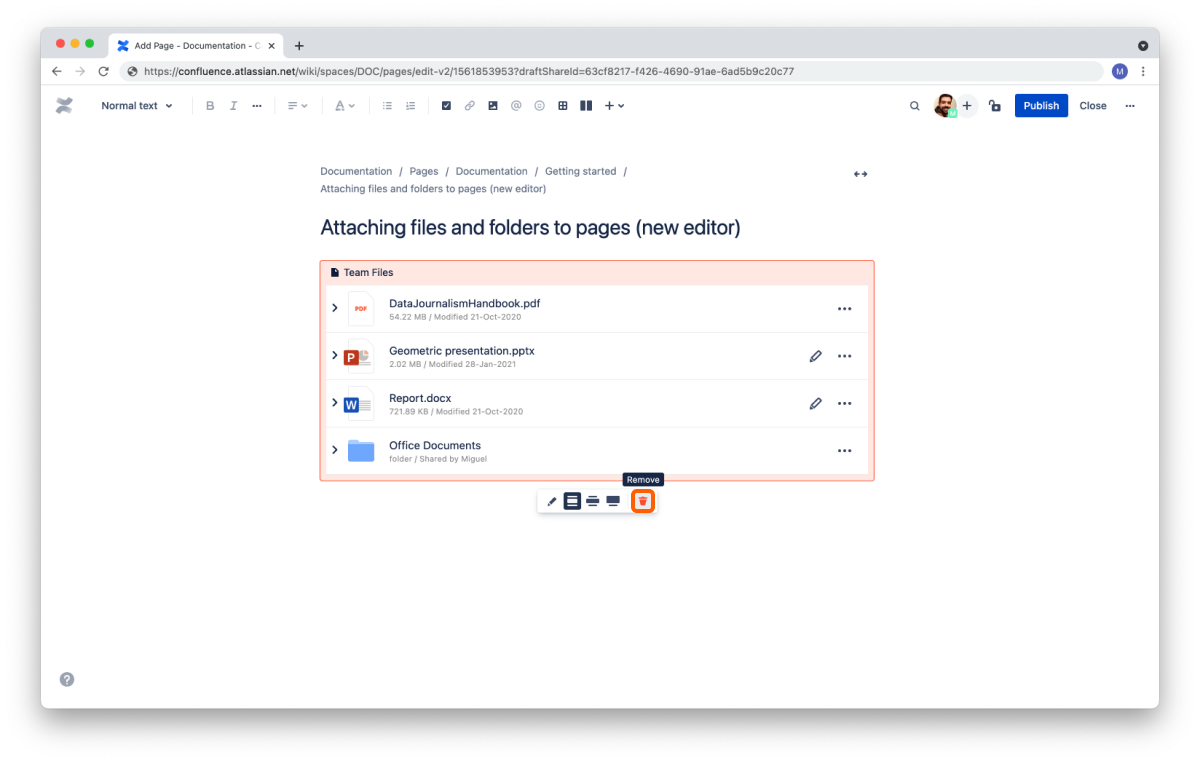
All done. Your files and folders are safe and sound but no longer attached to the page after publishing the changes.
Wrap up
Now you know how to attach files and folders to your pages and make changes to your macros. Don't forget you can connect more folders from the file manager.
If you still have questions about attaching files and folders to your pages, visit our support portal and send us your questions. Our team is always happy to help.